If you need an online store, Infogenix can hook you up with a professional and slick ecommerce solution, customized for all of your selling needs. But, even beautiful and functional websites will fall short of consumer expectation if the photos fail to do the product justice. Can’t afford to hire a professional photographer? Fortunately, with a little pre-planning and photo-editing magic, you don’t have to. There are just four things that you need to get the conversion-grabbing photos that you need on a budget: a camera, a good-looking product, a well-lit setup, and some graphics editing software.
Camera
While it would be great if we could all go out and invest in a high-end digital SLR, it’s often not realistic or the best use of a start up’s limited funds. This is especially true when you consider that additional lenses can run $100-$300 and beyond. The more expensive, the more options you’re likely to have, which means greater control, but isn’t often necessary. That’s where patience and careful planning come in, though, and enables even the camera on an average smart phone to produce great results.
The key is to take several photos more than you think that you need. Just like casting a wider net in the sea, you’ll end up with an assortment of fishes – or photos – to pick the best from.
Whichever camera you choose should have the following features at least:
- 4MPs or More – Four megapixels is usually large enough to produce a decent photo-sized print, so scaling it down for web should be fine. Always shoot with the highest quality settings, and go for more megapixels when you can.
- Flash – Or, actually, the ability to turn it off. The lighting should be taken care of by your setup, not your camera. Do not use your camera’s flash!
- Tripod – Cameras take the best photos when they are absolutely still, so a tripod is a must. There are many tripods built specifically for holding smart phones, too.
- Timing Function – Even hitting the button to take the photo can shake the camera, resulting in a blurry photo. Set up a short timer once the shot is ready to remove the human element.
Product
This article won’t really help with product design, but there are things that you can do to get it ready to be cast in the best light.
- Clean – To start, you’ll want to make sure that it is thoroughly cleaned – good lighting and a great camera will pick up specks of dust, scratches, dirt, and so on, which is something that you don’t want to have on what should represent the premier example of that item.
- Angles – You’ll want to take photos from a few different angle for each product. The standard front view is usually sufficient for the main product shot, but side, back, and top views, as well as three-quarters, and macro can add informative interest to collections.
- Setting – Similar to using props for scale, it may also be useful to take some photos of the product in the appropriate setting. This would be like photographing a sturdy camping bag next to a tent in the woods, or a bottle of cleaner on a kitchen counter. It adds a unique, story-telling element to the photos, which may be just what your customer needs to make a connection with the product, driving their need to buy.
Setup
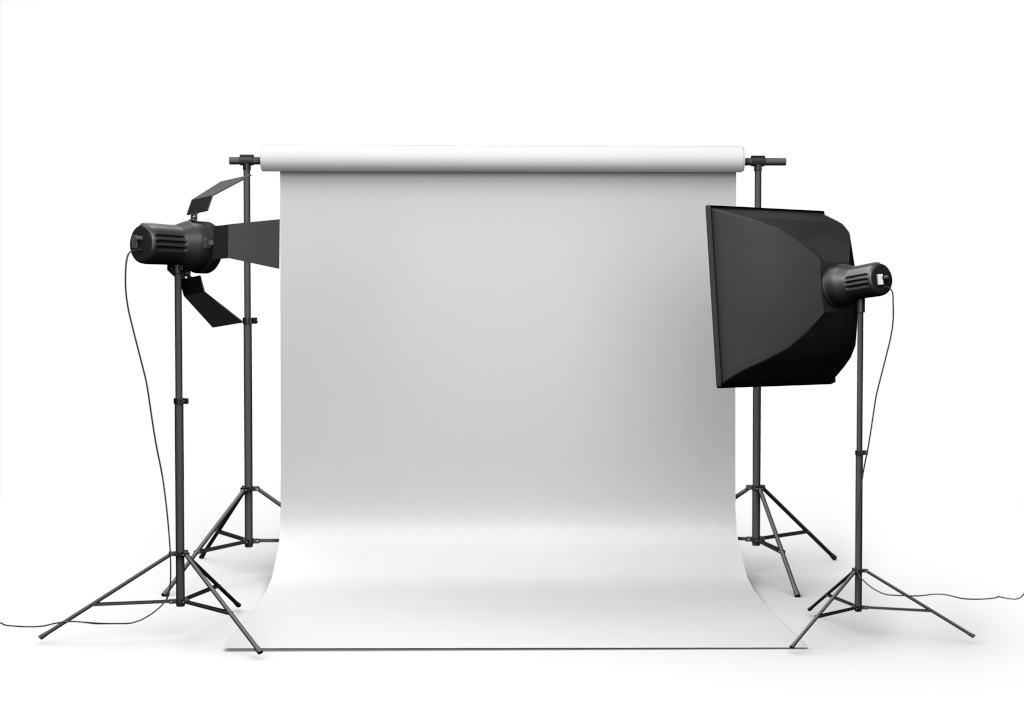
The best photos are taken with plenty of natural, ambient light, which brings out an object’s full range of color and depth. Unfortunately, it’s not easy to set up a controlled environment for pristine products in the outdoors, nor is it always possible to wait for nature to give us the perfect partly-cloudy day. The solution is to set up an indoor studio with perfect, diffused lighting.
- Lighting – In a studio setting, you’ll want to set up a system with as much continuous lighting as you can. This can be done using one or two large light sources with an attached diffuser. This can be as simple as attaching a fluorescent light to a tripod and putting a white umbrella in front. The umbrella scatters the light all around, resulting in ambient light and soft shadows without any glare. These can be bought in kits or assembled DIY style with any number of tutorial online.
- Backdrop – Objects are naturally reflective, so it’s best to use a white backdrop to avoid artificially coloring your product. This also makes post-processing a lot easier to work with. Photographers use “the infinity curve,” which is paper or cloth attached to a board or framework with clamps and draped in a curve. This removes edges, seams, and unnecessary shadows.
- Props – A lot of photographers, in addition to taking standard stock shots, will take a handful of photos of the product with props. This helps to show a sense of scale and add context. For example, you might put a quarter or ruler next to a piece of jewelry, showing the size relative to a familiar object.
Post-Processing
Even be best raw photos can be enhanced with a bit of work in a graphics editing program. From adjusting the lighting to scaling for web, a bit of touch-up can really make a big difference. Adobe’s Photoshop is the go-to for most professionals, but there are other options out there, some even free like the Gimp (http://www.gimp.org/), or Pixlr’s online editor (https://pixlr.com/). It only takes a few minutes on google to find a myriad of tutorials on photo enhancements that can walk you through most everything you need to know.
The important thing to remember is to never edit the photo on your camera before taking it to the editing program; you want the rawest, and largest, form of the footage possible to work with. A raw photo may not look that impressive, but the data is all there, just waiting to be enhanced.
- Levels – Pushing the levels of light in a photo will make the brights brighter and the darks darker. That may seem obvious, but it makes a huge difference for the quality of the photo in terms of depth and perspective. Common tools that fit under this category are: levels, brightness/contrast, curves, shadows/highlights. For even more control, use layer modes to experiment with multiply, overlay, soft light, and so on.
- Color Balance – Raw photos often have muted colors, but it’s easy to bring them out and enhance them with a little bit of work. Use color balance to adjust how strong an individual color is in the image, hue to change the overall color scheme, and saturation to make a photo more or less vibrant. Layer modes such as color burn, overlay, and hue can be used for added effect.
- Scale for Web – When you move your raw photos on to your computer, they should be very large files. This is great for editing ,but not so much for putting online. So, once you’ve made your enhancements, you’ll want to crop the photo (cutting out excess white space, etc), and then shrink the image down to a size appropriate for the web. The larger the file, the longer the load time.
Of course, if you don’t want to mess with it, we at Infogenix are more than happy to take care of your photos for you at any step in the process. Just let us know what you need, and we’ll take care of it.


